
This blog post will describe how to authenticate your SSH connection by a key that is securely stored on your Ledger Nano. Relying on a hardware-backed device protects your key from being disclosed and also let you approve every use of the key so that no unintended access is ever possible.
- Tools
- Store your SSH key on your Ledger Nano
- Use your Ledger Nano to authenticate your SSH connections
- Control every access to your key
- How to backup and restore your key
- Final word
Tools
There are 2 different applications that can be installed on a Ledger Nano to store SSH key materials:
- SSH agent: to communicate with this application from your computer, you have to rely on a specific tool. The most popular being ledger-agent features both a SSH and a PGP agent. You can read more about this application in this recent article from my colleague Charles.
- OpenPGP card: this application makes your Ledger Nano behave like a smartcard reader that in turn contains a smartcard compatible with the OpenPGP card specification, which means that you can use the popular GnuPG tool to communicate with it. In addition it stands out that GPG is also able to act as a SSH agent for more than a decade. This article covers this application.
GnuPG
![]()
GPG supports different types of capability (also called usage) for a key:
- E: encryption
- S: signing
- C: certification which is used to sign other keys (while the signing key is used to sign data)
- A: authentication which can be used for public key authentication with SSH
A key can have multiple capability, but the common practice is to generate multiple keys with different capabilities. It is also worth mentioning that you can change the capability of an existing key however the allowed capabilities depend on the key algorithm.
OpenPGP card application
This application for Ledger Nano implements “The OpenPGP card” specification revision 3.1. This specification is available at https://gnupg.org/ftp/specs/.
The procedure to install the application on your Ledger Nano is described on our support website. There exist 2 variants of the application: OpenPGP and OpenPGP.XL, the difference is that the first one only features one key slot whereas the second one let you have 3 key slots. A key slot means a set of 3 keys: one dedicated for encryption purpose, a second one for signature purpose and a third one for authentication purpose, so in a single key slot you can still store multiple keys, but each one will be affected to a different usage. It is worth mentioning that a key slot is tied to a single GPG user ID, so you only have to install the XL version if you want to use multiple GPG identities.
You’ll then need to install the PC/SC software on your computer in order to be able to communicate with the OpenPGP smartcard. On Debian-derived distributions this boils down to:
$ sudo apt install pcscd pcsc-tools
Note: Communications with USB smartcards is managed by the CCID driver. The support of the Ledger Nano S is present since version 1.4.28, so it should work out of the box on a recent distribution. The support of the Ledger Nano X is expected to be included in the upcoming version 1.4.32.
The Ledger Nano embeds a PIN pad that makes it way more secure than a classic smartcard because it prevents a malicious program running on your computer from snooping the PIN. By default the OpenGPG card application just requests a simple Yes/No confirmation on the Ledger Nano in lieu of the smartcard PIN because you already had to enter the PIN of your Ledger Nano at bootup, but you may change this behaviour to request this additional smartcard PIN to be entered either on the Ledger Nano or on the host. For more information about this topic have a look at the official documentation.
If you are looking for validating every access to your key material, this is a separate setting that is covered below.
So to allow GPG from requesting input on your Ledger Nano, you have to configure scdaemon (this component takes care of all smartcard operations) by adding the following lines in ~/.gnupg/scdaemon.conf:
enable-pinpad-varlen
Now plug and unlock your Ledger Nano: 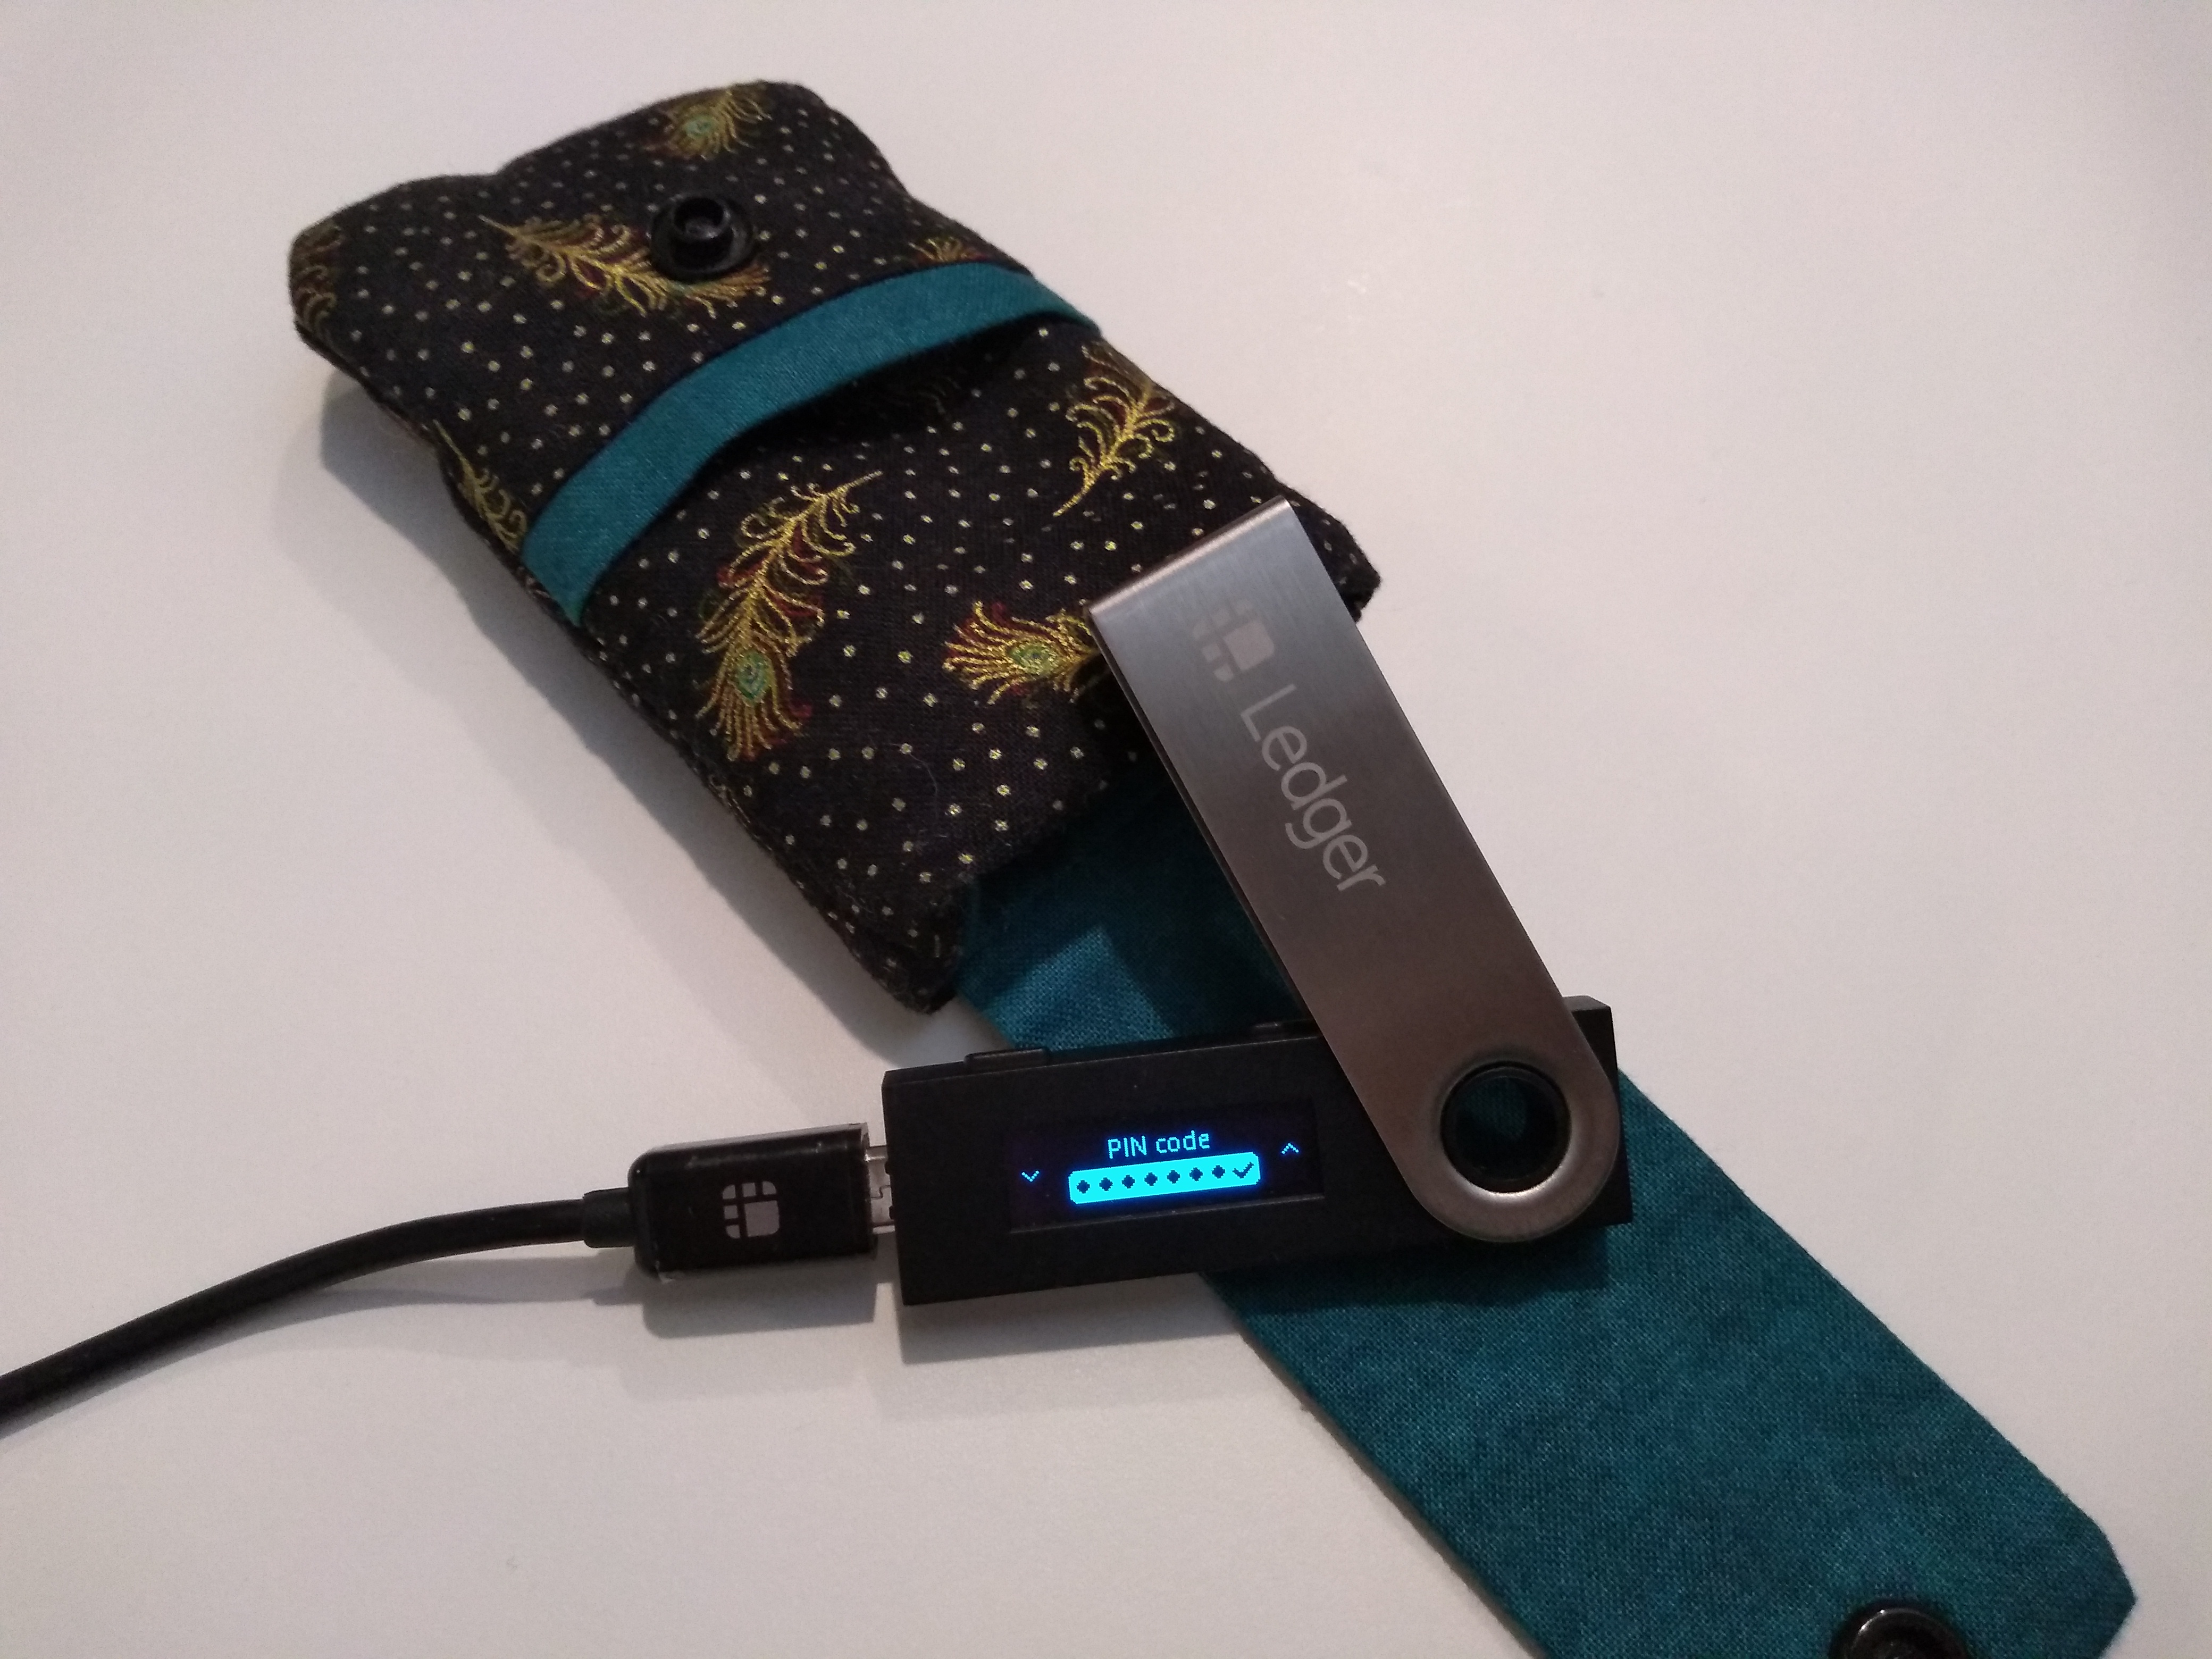
and start the OpenPGP application: 
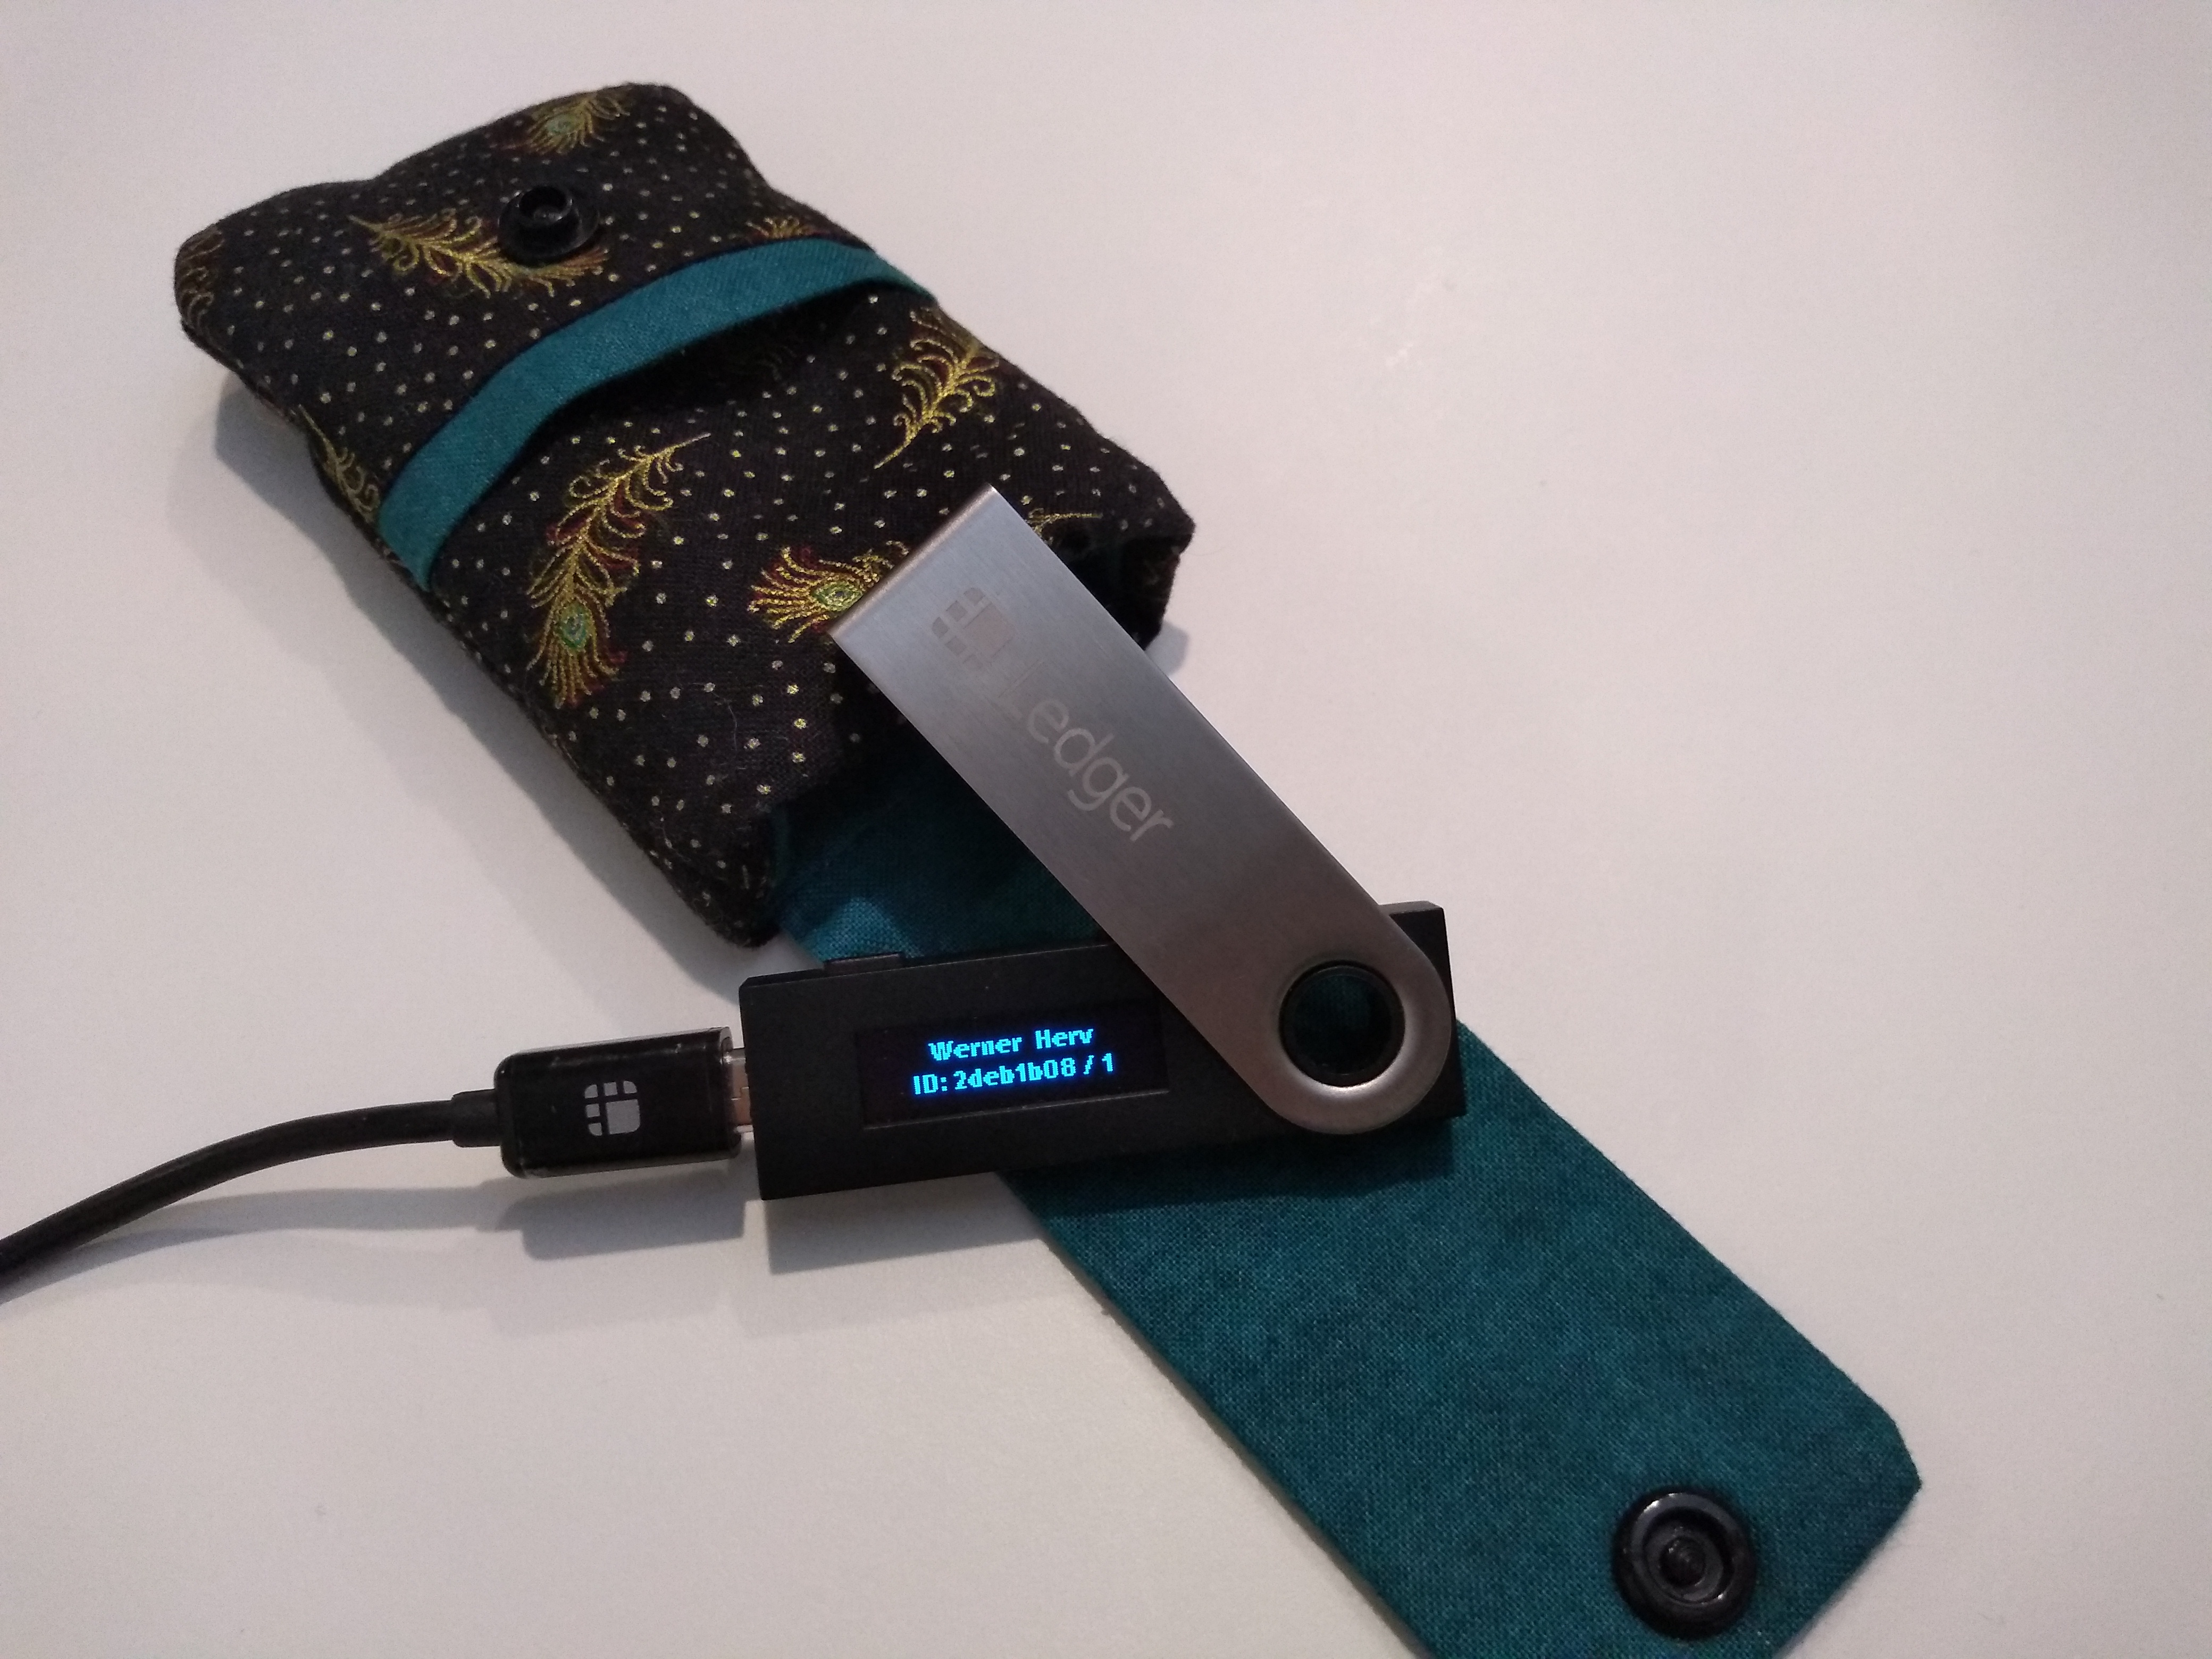
you should see it right away from your computer:
$ pcsc_scan -r
Using reader plug n play mechanism
Scanning present readers...
0: Ledger Nano S [Nano S] (0001) 00 00

$ gpg --card-status
Reader ...........: Ledger Nano S [Nano S] (0001) 00 00
Application ID ...: D2760001240103032C97461C43900000
Version ..........: 3.3
Manufacturer .....: unknown
Serial number ....: 461C4390
Name of cardholder: Herve Werner
Language prefs ...: [not set]
Sex ..............: unspecified
URL of public key : [not set]
Login data .......: [not set]
Signature PIN ....: not forced
Key attributes ...: rsa2048 rsa2048 rsa2048
Max. PIN lengths .: 12 12 12
PIN retry counter : 3 0 3
Signature counter : 0
Signature key ....: [none]
Encryption key....: [none]
Authentication key: [none]
General key info..: [none]
Note: by default, scdaemon uses the first reader it finds. If you have more than one card reader in the output of pcsc_scan, you may have to explicit which one to use, for that add the card reader identification string in ~/.gnupg/scdaemon.conf :
reader-port "Ledger Nano S [Nano S] (0001) 00 00"
In the normal case this setting may not be necessary because scdaemon uses by default the first USB device found, however if GPG fails to detect your card you might have to check this setting.
In addition the user input requested by GPG may not work correctly. The user input is managed by a component called pinentry. If you face this kind of issue have a look at the official documentation, it covers the additional pinentry settings that may be necessary for you.
Store your SSH key on your Ledger Nano
There are 3 ways to store your SSH key on your Ledger Nano (and more generally to a smartcard):
- import an existing SSH key to your GPG keyring (for that have a look at the pem2openpgp tool from the monkeysphere project) and move it to that smartcard (to do so edit your key from GPG:
gpg --edit-key <your GPG key>and execute thekeytocardcommand). This let you use an existing key that is already allowed on your servers, however from a security standpoint there are no guarantee that your key hasn’t already been compromised. Instead of importing an existing key, you may also use this method to generate a new SSH key on your computer and then move it to the smartcard, however to do it properly you should take care to generate it from an isolated environment. - request your Ledger Nano to generate new keys (connect to your smartcard from GPG:
gpg --edit-card, switch to the admin mode by executing theadmincommand and then execute thegeneratecommand). This will create a new set of keys: one dedicated for encryption purpose, one other for signature purpose and a last one for authentication purpose. This is the most secure method as the key materials never leave the device, however thegeneratecommand unfortunately offers no way to only create one type of key. - request your Ledger Nano to generate a new authentication key. This is the same thing that above, but without the downside of generate a full set of keys, so this article will dive into this method.
Set the cryptographic algorithm
Unfortunately when generating the key on the Ledger Nano, it is not possible to interactively set the algorithm to use, this has to be configured beforehands:
- either from the OpenGPG card application: navigate to the menu Settings -> Key template and set the chosen algorithm for the Authentication key.
or from GPG:
$ gpg --edit-card

Reader ...........: Ledger Nano S [Nano S] (0001) 00 00
Application ID ...: D2760001240103032C97461C43900000
Version ..........: 3.3
Manufacturer .....: unknown
Serial number ....: 461C4390
Name of cardholder: Herve Werner
Language prefs ...: [not set]
Sex ..............: unspecified
URL of public key : [not set]
Login data .......: [not set]
Signature PIN ....: not forced
Key attributes ...: rsa2048 rsa2048 rsa2048
Max. PIN lengths .: 12 12 12
PIN retry counter : 3 0 3
Signature counter : 0
Signature key ....: [none]
Encryption key....: [none]
Authentication key: [none]
General key info..: [none]

gpg/card> admin
Admin commands are allowed

gpg/card> key-attr
Changing card key attribute for: Signature key
Please select what kind of key you want:
   (1) RSA
   (2) ECC
Your selection?
Changing card key attribute for: Encryption key
Please select what kind of key you want:
   (1) RSA
   (2) ECC
Your selection?
Changing card key attribute for: Authentication key
Please select what kind of key you want:
   (1) RSA
   (2) ECC
Your selection? 2
Please select which elliptic curve you want:
   (1) Curve 25519
   (4) NIST P-384
Your selection? 1
The card will now be re-configured to generate a key of type: ed25519
Note: There is no guarantee that the card supports the requested size.
      If the key generation does not succeed, please check the
      documentation of your card to see what sizes are allowed.

gpg/card> list

Reader ...........: Ledger Nano S [Nano S] (0001) 00 00
Application ID ...: D2760001240103032C97461C43900000
Version ..........: 3.3
Manufacturer .....: unknown
Serial number ....: 461C4390
Name of cardholder: Herve Werner
Language prefs ...: [not set]
Sex ..............: unspecified
URL of public key : [not set]
Login data .......: [not set]
Signature PIN ....: not forced
Key attributes ...: rsa2048 rsa2048 ed25519
Max. PIN lengths .: 12 12 12
PIN retry counter : 3 0 3
Signature counter : 0
Signature key ....: [none]
Encryption key....: [none]
Authentication key: [none]
General key info..: [none]
The last element of the Key attributes field corresponds to the authentication key, as you can notice it has been successfully updated.
Configure the key generation method
The OpenPGP card application let you either generate the keys randomly (default setting) or derive the keys from the master seed. The latter option is very appealing because you may be able to reconstruct your GPG key only from the 24 words recovery phrase, however note that this method is still in beta as it hasn’t passed any security analysis yet. To leverage this method, you need to configure the OpenGPG card in seed mode: navigate to the menu Settings -> Seed mode and then select Set on. Beware that this setting is currently not persisted, so if you exit the application and start it again, the Seed mode setting will be lost.
Generate your SSH key on the Ledger Nano
Your brand new SSH key can now be securely created on your Ledger Nano:
$ gpg --no-greeting --edit-key herve
Secret key is available.

sec  rsa3072/5C02F7349A6A7B5F
     created: 2020-01-08  expires: 2022-01-07  usage: SC
     trust: ultimate      validity: ultimate
ssb  rsa3072/6458349A8ACE3A2D
     created: 2020-01-08  expires: 2022-01-07  usage: E
[ultimate] (1). herve

gpg> addcardkey
Signature key ....: [none]
Encryption key....: [none]
Authentication key: [none]

Please select the type of key to generate:
   (1) Signature key
   (2) Encryption key
   (3) Authentication key
Your selection? 3
Please specify how long the key should be valid.
         0 = key does not expire
      <n>  = key expires in n days
      <n>w = key expires in n weeks
      <n>m = key expires in n months
      <n>y = key expires in n years
Key is valid for? (0)
Key does not expire at all
Is this correct? (y/N) y
Really create? (y/N) y

sec  rsa3072/5C02F7349A6A7B5F
     created: 2020-01-08  expires: 2022-01-07  usage: SC
     trust: ultimate      validity: ultimate
ssb  rsa3072/6458349A8ACE3A2D
     created: 2020-01-08  expires: 2022-01-07  usage: E
ssb  ed25519/08A5C2860B982AB1
     created: 2020-01-08  expires: never       usage: A
     card-no: 2C97 2DEB1B08
[ultimate] (1). herve
This example starts from an existing GPG key that already contains 2 keys: the first one, known as the master key, is dedicated to signature operations (usage: SC) and the second one, called a subkey, is dedicated to encryption operations (usage: E). After creating a new key, a new authentication (usage: A) subkey has been created with the field card-no which means that the key is stored on a smartcard.
Use your Ledger Nano to authenticate your SSH connections
The support of the SSH agent is enabled out of the box and keys available from a smartcard are automatically added to the SSH keys that are allowed to used (for more information read the description of sshcontrol in the gpg man page). In addition the GPG agent is automatically started, as a consequence there is no further configuration needed apart from requesting ssh to make use of GPG agent for key-related operations:
export SSH_AUTH_SOCK=$(gpgconf --list-dirs agent-ssh-socket)
export GPG_TTY=$(tty)
Ask GPG to provide you the public part of the SSH key:
$ gpg --export-ssh-key herve
ssh-ed25519 AAAAC3NzaC1lZDI1NTE5AAAAIFRO8PTCmk4pzi1EbESA65X5Vn37M/bwwrxf6crr2L+w openpgp:0x1AF84DFB
You should also be able to get the public key by ssh-add, this will also let you confirm that communications with your smartcard through GPG is working as expected:
$ ssh-add -L
ssh-ed25519 AAAAC3NzaC1lZDI1NTE5AAAAIFRO8PTCmk4pzi1EbESA65X5Vn37M/bwwrxf6crr2L+w cardno:2C972DEB1B08
After having allowed this public key on your servers by adding it in the .ssh/authorized_keys file, you should be able to authenticate from your Ledger Nano:
$ ssh my_server
if your setup is correct GnuGP will pop up to request your approval: 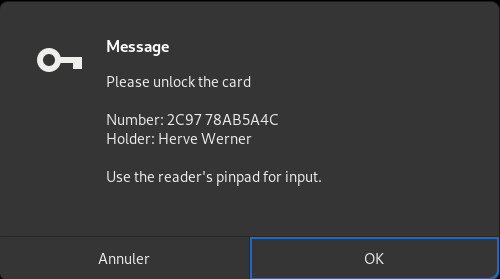
by default a simple Yes/No confirmation is requested directly on your Ledger device (but as explained above this may modified): 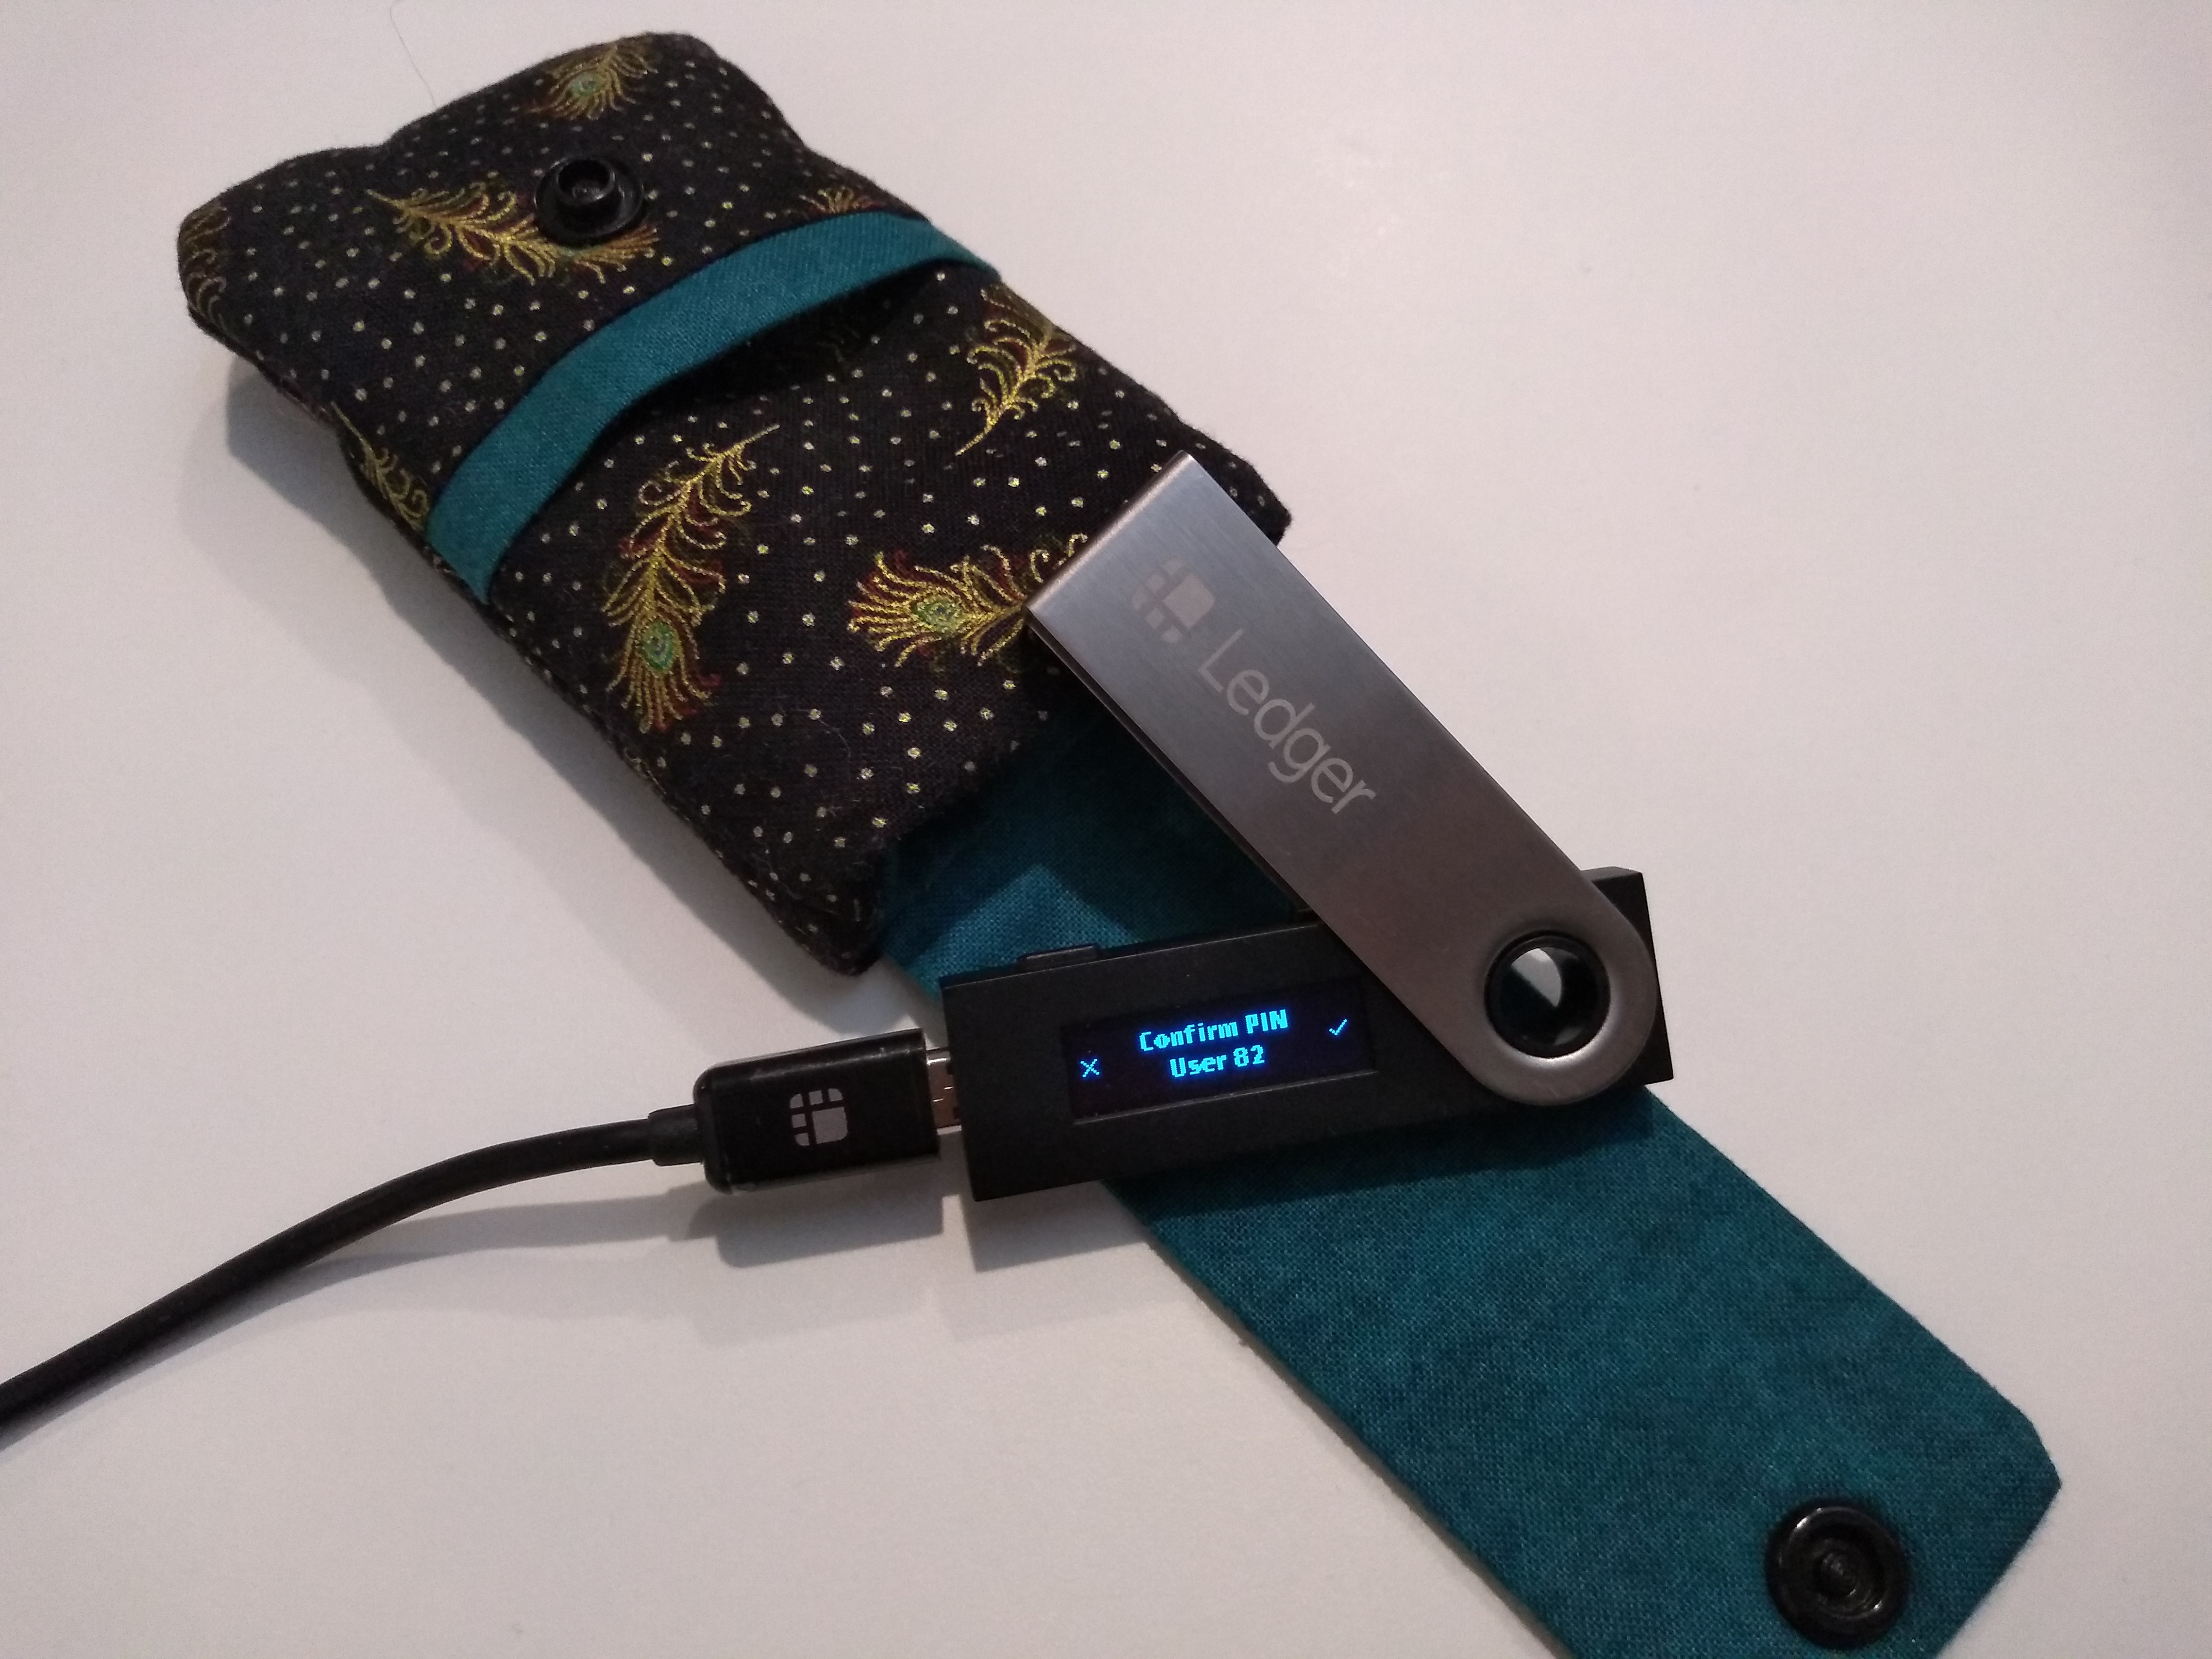
$ ssh -v my_server
[...]
debug1: Offering public key: cardno:2C972DEB1B08 ED25519 SHA256:JsEN9ryJLXZWVpguOnxfYt5BYth0WyssE48e2X7NgRE agent
debug1: Server accepts key: cardno:2C972DEB1B08 ED25519 SHA256:JsEN9ryJLXZWVpguOnxfYt5BYth0WyssE48e2X7NgRE agent
debug1: Authentication succeeded (publickey).
[...]
Control every access to your key
Once you’ve unlocked your Ledger Nano with your startup PIN and performed an operation which requests the smartcard PIN, the state is cached by GPG so that subsequent actions don’t request any additional confirmation. This is great for the user experience, however a security-cautious user may want to check every access to its key, especially if connecting from an untrusted computer. Fortunately the OpenPGP standard has foresaw this feature, it is called: User Interaction Flag (UIF). You can enable it on your Ledger Nano by navigating to the menu Settings -> UIF mode and then setting for which operation (encryption, signature, authentication) it should be enforced.
How to backup and restore your key
Private materials stored on the Ledger Nano
The official documentation describes the procedure to backup your key however if you’ve chosen to use the Seed mode the 24-words recovery phrase may be enough to recover your key because it is derived from the master seed of the Ledger Nano. In all cases you should backup your key anyway:
$ sudo apt install python3-pyscard
$ git clone https://github.com/LedgerHQ/openpgp-card-app.git
$ cd pytools
$ python3 -m gpgcard.gpgcli --backup --pinpad --backup-keys --file gpg_herve.pickle

GPG Ledger Admin Tool v0.1.
Copyright 2018 Cedric Mesnil <cslashm@gmail.com>, Ledger SAS


Connect to card pcsc:Ledger...OK
Verfify PINs...OK
Select slot 1...OK
Get card info...OK
Backup application...OK
If you have relied on the Seed mode, after having recovered your seed you still have to reconfigure some metadata in order to be able to fully recover your key, namely the fingerprints plus the cryptographic algorithms of the stored key and the serial number of the smartcard:
# Ask GPG to display your keypair and write down the serial number of the smartcard and the fingerprint of your SSH key

$ gpg --list-secret-keys --with-subkey-fingerprint herve
/home/hwerner/.gnupg/pubring.kbx
--------------------------------
sec#  rsa3072 2020-01-08 [SC] [expires: 2022-01-07]
      3CC8C6C18B818D9DF682E2C85C02F7349A6A7B5F
uid           [ unknown] herve
ssb#  rsa3072 2020-01-08 [E] [expires: 2022-01-07]
      42412F363666058DE0B0D40C6458349A8ACE3A2D
ssb>  ed25519 2020-01-08 [A]
      B060B2463EF48936AD2883A208A5C2860B982AB1
      Card serial no. = 2C97 2DEB1B08

$ python3 -m gpgcard.gpgcli --pinpad --seed-key --set-template rsa2048:rsa2048:ed255519 --set-fingerprints ::B060B2463EF48936AD2883A208A5C2860B982AB1 --set-serial 2DEB1B08
If you skip this part, GPG may not manage to find the key stored on the Ledger Nano because it compares what it knows from the keyring and the metadata that the device shows off.
The syntax of the --set-template and --set-fingerprints option is SIG:DEC:AUT which corresponds respectively to the signature, encryption and authentication capability.
Despite its name, the --set-template option not only sets the cryptographic algorithms to use for a subsequent key generation, but it also sets the algorithms of the keys currently present (this corresponds to the Key attributes field of the gpg --card-status output). So again you have to set the key attributes correctly, otherwise GPG will fail to recognize your key.
When using the recovery tool, You may get a Sharing violation error:
Connect to card pcsc:Ledger...Error:
  Unable to connect with protocol: T0 or T1. Sharing violation.
That’s because the OpenPGP protocol let application connects either in exclusive mode or in shared mode. GPG always opens the smartcard in exclusive mode, as a result you can’t use it afterwards from another application. You can workaround this error by reloading scdaemon to make it release the exclusive lock:
$ gpgconf --reload scdaemon
For the backup and restore procedure that applies to the non-seeded mode, please have a look at the official documentation.
Public materials of the GPG keyring
You still need to backup your keypair because the smartcard only contains the private key materials. Indeed, not to mention private keys not stored in the smartcard, your keypair also contains metadata about the keys (creation date for example), one or more user ID (your name and your email, don’t set any comment) and pointers to your smartcard (the card-no field).
As a side note, here is the general description and composition of a GPG keypair copied from the [GPG privacy handbook](https://gnupg.org/gph/en/manual.html#AEN244:
A keypair has a public key and a private key. A public key consists of the public portion of the master signing key, the public portions of the subordinate signing and encryption subkeys, and a set of user IDs used to associate the public key with a real person. Each piece has data about itself. For a key, this data includes its ID, when it was created, when it will expire, etc. For a user ID, this data includes the name of the real person it identifies, an optional comment, and an email address. The structure of the private key is similar, except that it contains only the private portions of the keys, and there is no user ID information.
So you have to backup your public keypair because if you loose it you won’t able to make any use of your sole Ledger Nano:
gpg --export --armor -o /tmp/herve.pub herve
If you need to restore your keypair someday, first import this public keypair and then reconstruct the pointers to your Ledger Nano by communicating with the device:
$ gpg --list-keys
$ gpg --import /tmp/herve.pub
gpg: key 5C02F7349A6A7B5F: public key "herve" imported
gpg: Total number processed: 1
gpg:               imported: 1
$ gpg --list-secret-keys
$
#
# At this point, your public keypair will be setup, but the private part will still be empty.
# By communicating with the smartcard gpg will automatically recontrust the private keypair
# comprised of pointers to the device
#
$ gpg --card-status
Reader ...........: Ledger Nano S [Nano S] (0001) 00 00
Application ID ...: D2760001240103032C972DEB1B080000
Version ..........: 3.3
Manufacturer .....: unknown
Serial number ....: 2DEB1B08
Name of cardholder: Herve Werner
Language prefs ...: [not set]
Sex ..............: unspecified
URL of public key : [not set]
Login data .......: [not set]
Signature PIN ....: not forced
Key attributes ...: rsa2048 rsa2048 ed25519
Max. PIN lengths .: 12 12 12
PIN retry counter : 3 0 3
Signature counter : 0
Signature key ....: [none]
Encryption key....: [none]
Authentication key: B060 B246 3EF4 8936 AD28  83A2 08A5 C286 0B98 2AB1
      created ....: 2020-01-08 11:06:37
General key info..: sub  ed25519/08A5C2860B982AB1 2020-01-08 herve
sec#  rsa3072/5C02F7349A6A7B5F  created: 2020-01-08  expires: 2022-01-07
ssb#  rsa3072/6458349A8ACE3A2D  created: 2020-01-08  expires: 2022-01-07
ssb>  ed25519/08A5C2860B982AB1  created: 2020-01-08  expires: never
                                card-no: 2C97 2DEB1B08
$ gpg --list-secret-keys --with-subkey-fingerprint
/home/hwerner/.gnupg/pubring.kbx
--------------------------------
sec#  rsa3072 2020-01-08 [SC] [expires: 2022-01-07]
      3CC8C6C18B818D9DF682E2C85C02F7349A6A7B5F
uid           [ unknown] herve
ssb#  rsa3072 2020-01-08 [E] [expires: 2022-01-07]
      42412F363666058DE0B0D40C6458349A8ACE3A2D
ssb>  ed25519 2020-01-08 [A]
      B060B2463EF48936AD2883A208A5C2860B982AB1
      Card serial no. = 2C97 2DEB1B08
In this case only the SSH key is being restored, the other keys are still missing and should be restored from a backup (sec means the master secret key, ssb means a secret subkey, # means that the private key is missing from the keyring and > means that the key is stored in a smartcard).
Alternatively the OpenPGP specification contains a very handy feature: you can save in the smartcard a URL that points to your public keypair. With this feature you can store it online:
$ gpg --edit-card
[...]
gpg/card> admin
Admin commands are allowed

gpg/card> url
URL to retrieve public key: https://gist.githubusercontent.com/dud225/c998a3853c6a33dfaa532a1641737d25/raw/779962559f178e4dd6572dff1ce7e45dcd96a466/herve.pub
After that the procedure to restore your keypair is much simplier :
$ gpg --list-keys
$ gpg --edit-card
Reader ...........: Ledger Nano S [Nano S] (0001) 00 00
Application ID ...: D2760001240103032C972DEB1B080000
Version ..........: 3.3
Manufacturer .....: unknown
Serial number ....: 2DEB1B08
Name of cardholder: Herve Werner
Language prefs ...: [not set]
Sex ..............: unspecified
URL of public key : https://gist.githubusercontent.com/dud225/c998a3853c6a33dfaa532a1641737d25/raw/779962559f178e4dd6572dff1ce7e45dcd96a466/herve.pub
Login data .......: [not set]
Signature PIN ....: not forced
Key attributes ...: rsa2048 rsa2048 ed25519
Max. PIN lengths .: 12 12 12
PIN retry counter : 3 0 3
Signature counter : 0
Signature key ....: [none]
Encryption key....: [none]
Authentication key: B060 B246 3EF4 8936 AD28  83A2 08A5 C286 0B98 2AB1
      created ....: 2020-01-08 11:06:37
General key info..: [none]

gpg/card> fetch
gpg: requesting key from 'https://gist.githubusercontent.com/dud225/c998a3853c6a33dfaa532a1641737d25/raw/779962559f178e4dd6572dff1ce7e45dcd96a466/herve.pub'
gpg: key 5C02F7349A6A7B5F: public key "herve" imported
gpg: Total number processed: 1
gpg:               imported: 1

$ gpg --list-secret-keys --with-subkey-fingerprint
/home/hwerner/.gnupg/pubring.kbx
--------------------------------
sec#  rsa3072 2020-01-08 [SC] [expires: 2022-01-07]
      3CC8C6C18B818D9DF682E2C85C02F7349A6A7B5F
uid           [ unknown] herve
ssb#  rsa3072 2020-01-08 [E] [expires: 2022-01-07]
      42412F363666058DE0B0D40C6458349A8ACE3A2D
ssb>  ed25519 2020-01-08 [A]
      B060B2463EF48936AD2883A208A5C2860B982AB1
      Card serial no. = 2C97 2DEB1B08
Final word
Great no need to carry all that stuff along anymore: 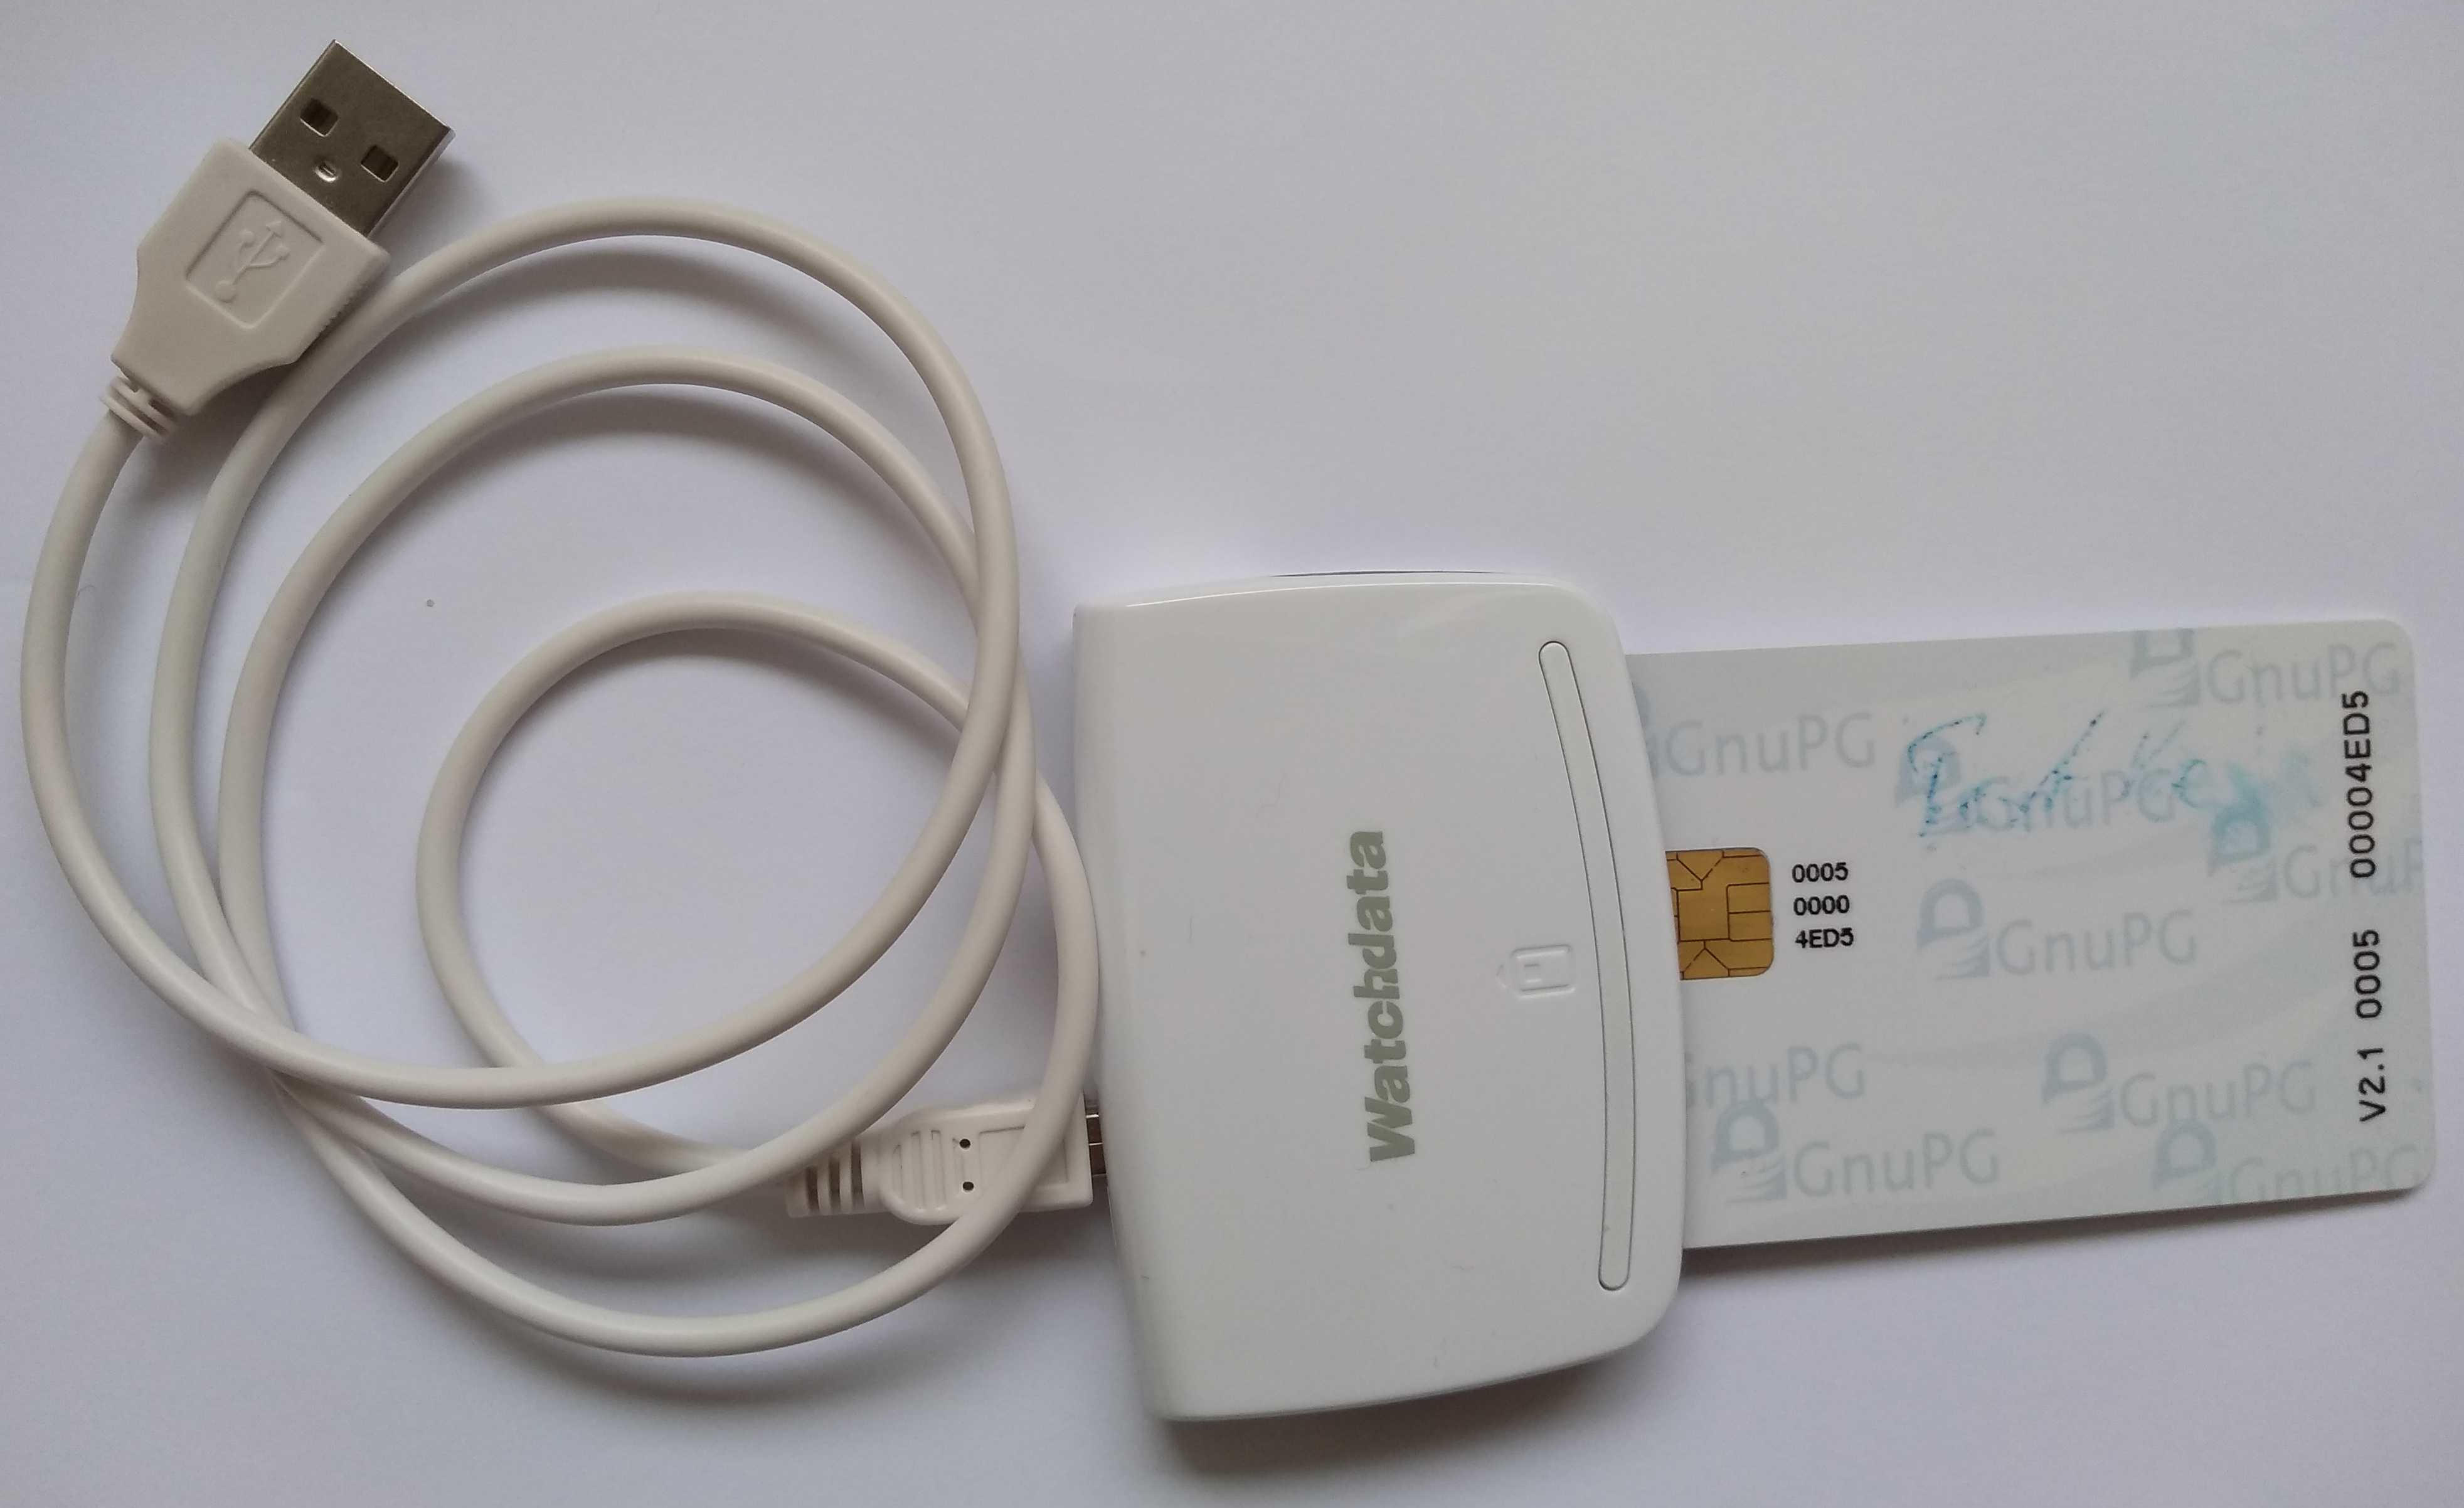 I received this card from Werner Koch after his talk at Kernel Recipes 2017
If you are looking for additional information, have a look at the official documentation and the repository.
